# Map Settings
This page describes settings applied at the map level to give different effects. This is an ongoing area of learning and will be updated as new tactics are found.
# World Info
The World Info window from the View menu offers useful settings for the map as a whole, such as ambient sound and brightness.
| Option | Description |
|---|---|
Default Post Process Settings | A wide array of visual filters you can apply |
Zone Info | Limits on maximum player movement |
Streaming Levels | Shows the streaming levels you have made |
Title | Name of the map |
Author | Your name |
My Map Info | Add a MapInfo_TA here |
Some of the most useful Post Process settings are Scene Desaturation, Scene Colorize, and a combination of Scene High Lights, Scene Mid Tones, and Scene Shadows. I encourage you to make sense of the lights/tones/shadows numbers yourself, because they can feel a little weird and only you know the look you are hoping to achieve.
# MapInfo_TA

As with other parts of this process, UDK and/or Rocket League will supply default parameters if you do not. To create a new MapInfo_TA object associated with your map, open World Properties from the View menu. Search for info, then click the blue dropdown arrow at the right edge of the window and select MapInfo_TA. This will create a new region with all of the adjustable parameters inside MapInfo_TA:
| Map Info TA | |
|---|---|
| World Colors | Set some ambient environment colors |
| Mirror Field Type | Define the spawnpoint mirroring scheme used |
| Mirror Field XYRotation | Set the rotation of mirrored spawn points |
| Field Center | Location of the origin (generally 0,0,0) |
| Min Stadium Brightness | Set the level of "true black" |
The most powerful setting inside of Map Info is the MFT dropdown. MFT_XY mirrors spawnpoints across both the X and Y axes (i.e. your opponent on diagonal kickoffs will always be on the opposite side of the ball). MFT_X and MFT_Y, however, only mirror across one axis. The famous Labs_Utopia_P.upk map uses the MFT_X scheme so that spawn points are merely flipped over the center line of the map. MFT_NONE is perfect for asymmetric maps or maps with odd-numbered symmetry (think triangles or pentagons). Using this setting, you will have to manually place all spawn points for both teams.
Similarly, the XYRotation setting may be used for some great effects. To spawn all players in a line facing the same direction, you would use one of MFT_X or MFT_Y (depending on the map orientation) and set the rotation to 0.
# Scene Capture Cube Map Actor
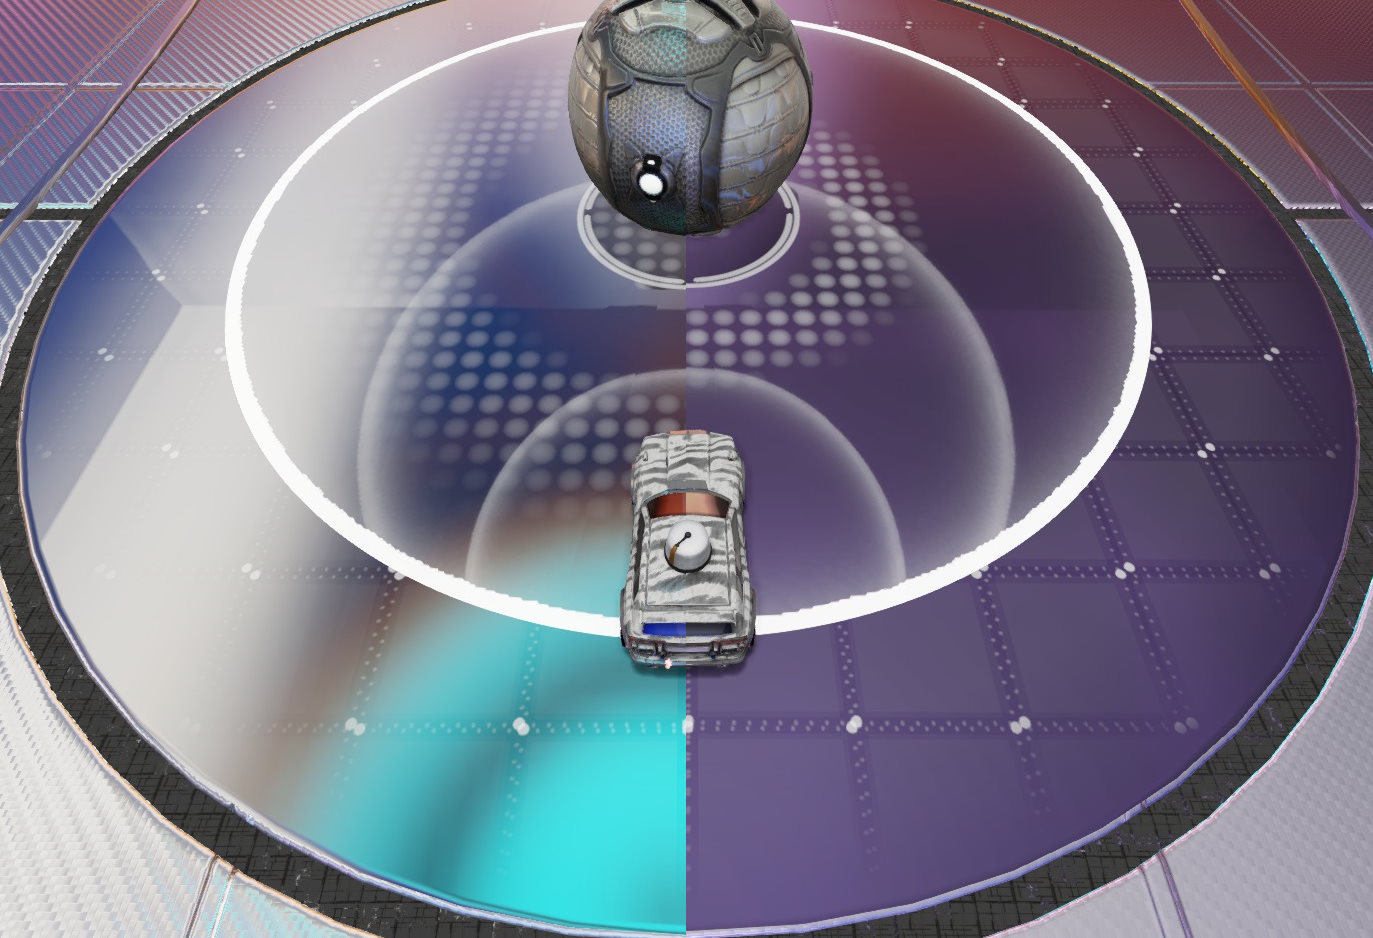
Why does your car look different on different maps? Lighting is a large part of that, but an object that plays perhaps an even bigger role is called the Scene Capture Cube Map Actor, which can be added to the scene from the Actor Classes tab.

What a mouthful. Essentially this object is a camera that can see in every direction. But instead of showing the player or being the viewpoint for a cinematic, it generates a set of 6 images (arranged in a cube) that reflective surfaces will show. Since Rocket League is very metallic and shiny in general, this affects a lot of surfaces.

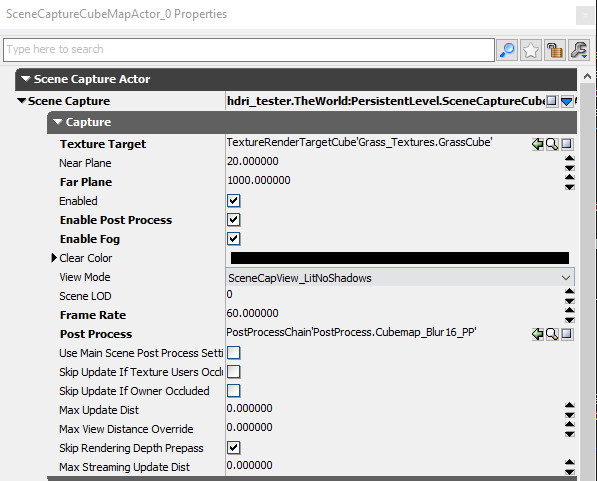
The key to making it appear is to assign Grass_Textures.GrassCube to the Texture Target field. This allows the output of the SceneCaptureCubeMapActor to be displayed in the level. All other settings inside its properties are up to your artistic tastes, but here are explanations of the most important ones:
| SceneCaptureCubeMapActor | |
|---|---|
| Texture Target | Set to TextureRenderTargetCube'Grass_Textures.GrassCube' |
| Near Plane | Anything closer than this will not be captured in the cubemap |
| Far Plane | Anything further "" (setting this too high will tank performance) |
| Clear Color | The color of any gaps created by the Near/Far Plane settings |
| Frame Rate | Setting this too high will tank the performance of your map |
| Post Process | See below |
The PostProcess dummy asset package has a number of preconfigured post-processing chains which apply different levels of blur or color filters to the cubemap. These can also be applied to the map as a whole by setting the World Post Process Chain inside World Properties.