Add lighting
Learn more
 How to make a Rocket League map in 3 minutes!
Now that we have the fundamentals all in place, the rest of the map can come together very quickly. For brevity, I am going to skip over the modeling steps, but that will be explained in the Blender Guide.
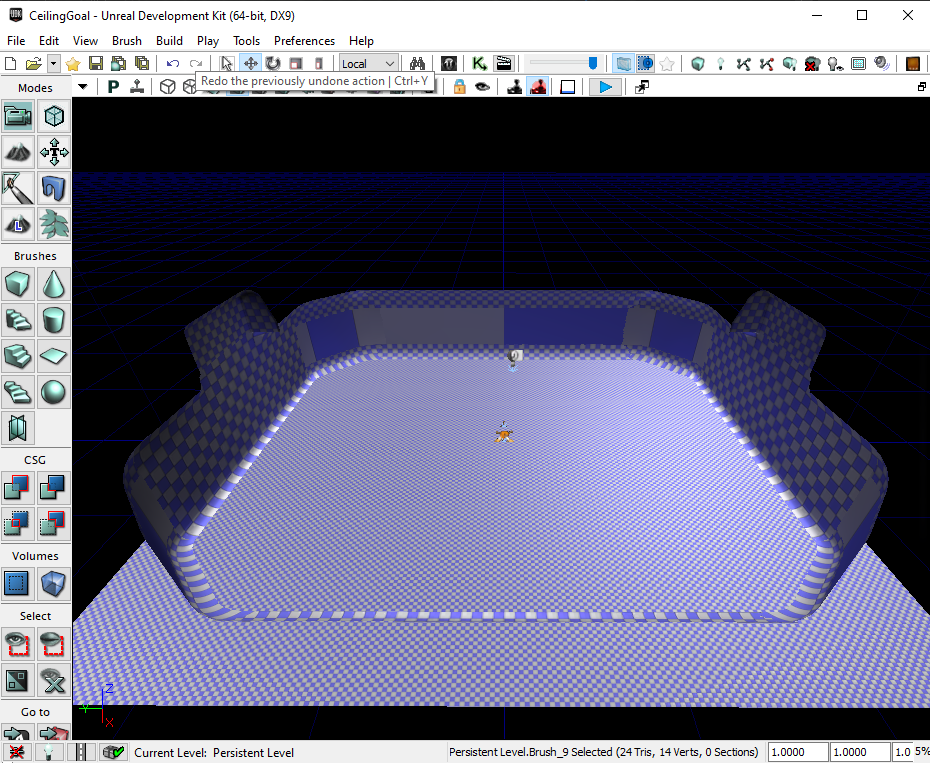
 Boring old, lame old blue and white map pieces
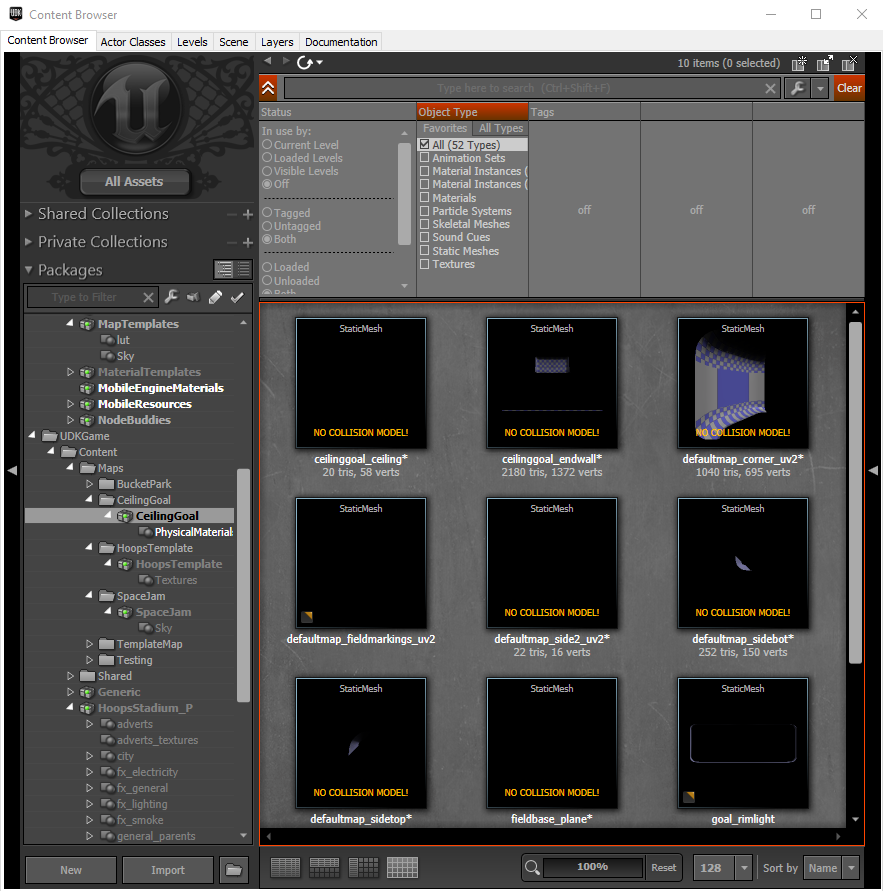
I have a library of default map pieces (FBX files) with adjusted UV maps so that they look acceptable with no assigned material. All of these have an object origin offset, meaning all I have to do is place them into the world at (0,0,0) and they all line up. Note that a Soccar game is played along the Y axis.
The reason for building a map in pieces is that Rocket League (and UDK in general) does not like spawning you inside of objects. By building it like this, you ensure that the game does not consider you “inside” of anything.
 That was easy!
Because of surface normals, any map pieces which have no thickness will be invisible when viewed from the back side. Make sure that all surface normals are correct when viewed from where the player will be.
TIPS
There are a handful of tricks to make the map assembly process much, much easier:
Ctrl+click them in the 3D Editor window, or Ctrl+click or Shift+click them in the Scene tab of the Content Browser. Then press F4.Remember, you need to do all of the collision fixes (both on the imported Static Mesh in the Content Browser and on the StaticMeshActor placed in the world) on every mesh you want to collide with. These steps are shown in previous sections.
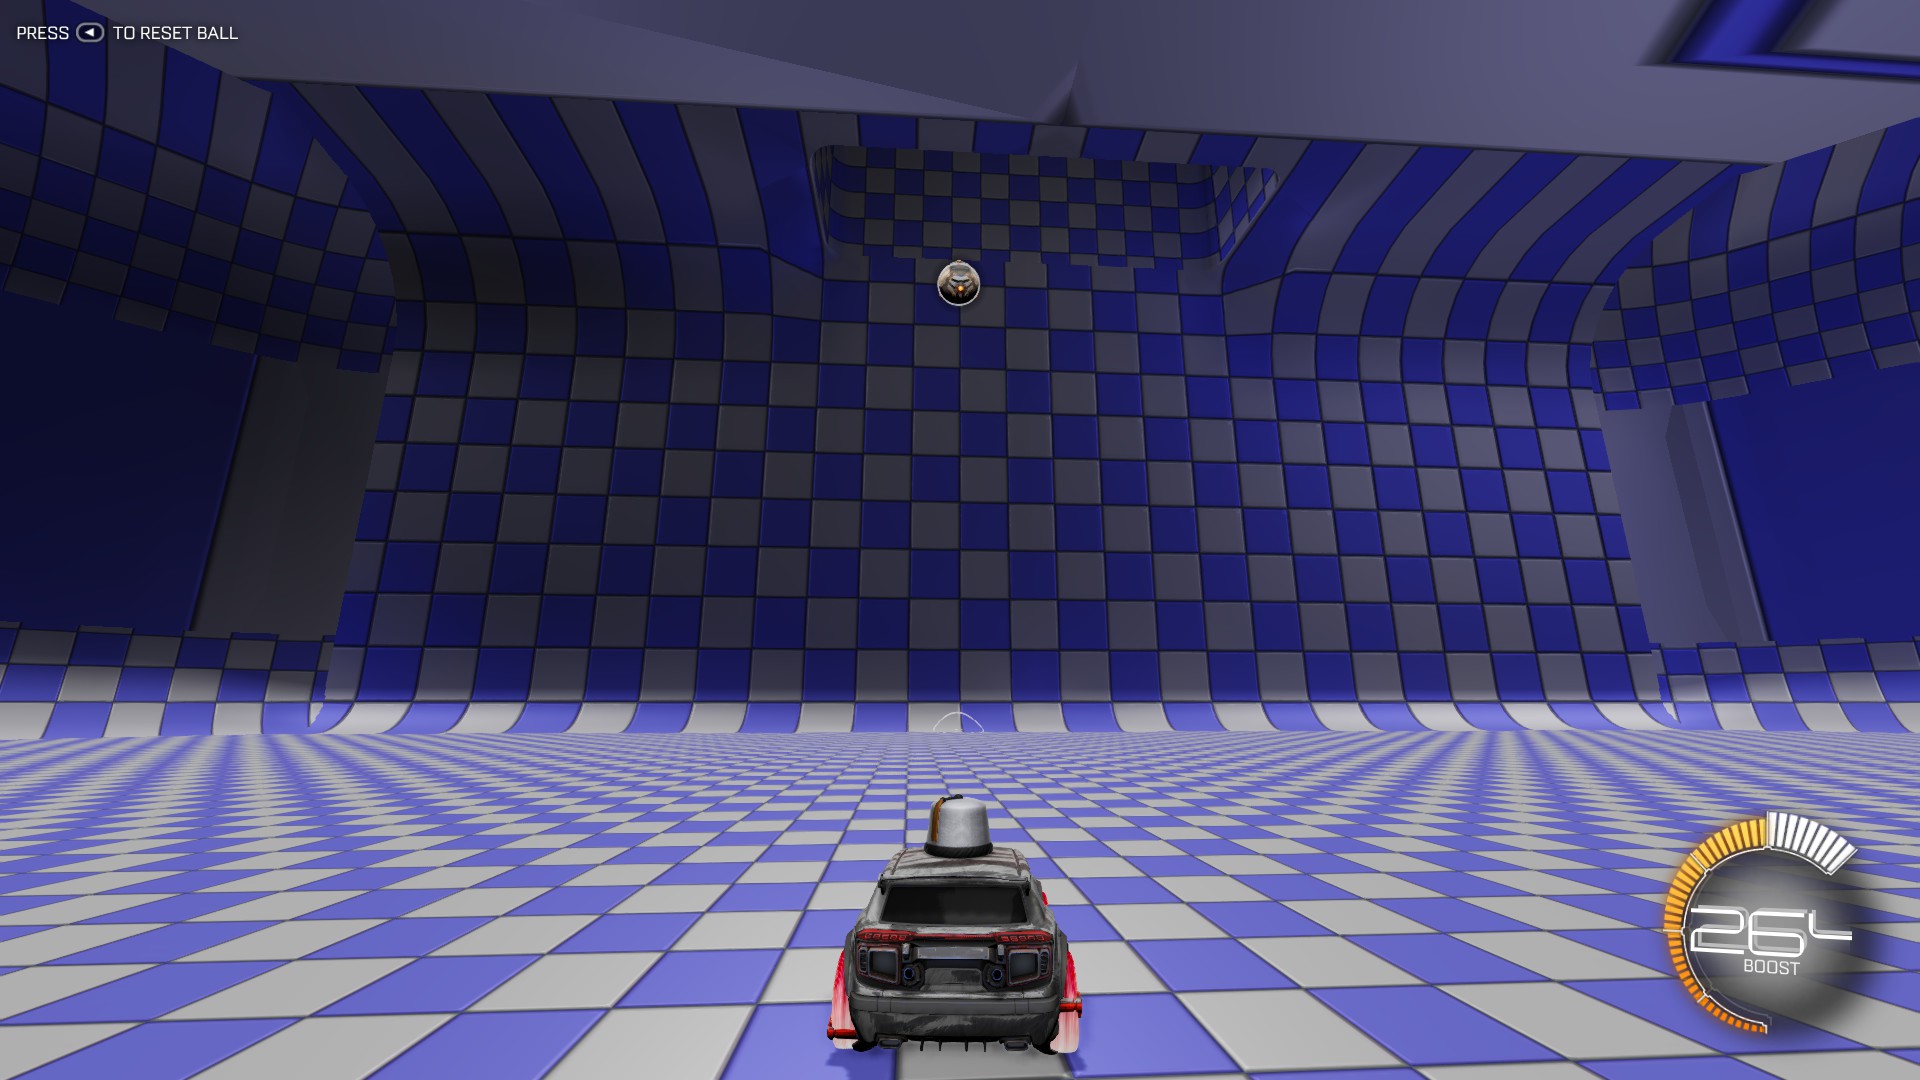
Once all meshes are in the scene, lighting will need to be rebuilt from the Build menu. This will fix most of the visual artifacts and make the map much more playable.
 notbad_4_final_final.jpg
Try to be as thorough as you can be when testing your map. It only takes one missed collision setting or unset StickyWalls® to ruin the whole experience.
But now it’s time to make this map more than just a weird checkered box or to continue with adding interesting map features: