Lighting
A properly lit map can make all the difference. You want to show off all of your hard work, but UDK really doesn’t want to let you do that most of the time.
Light Actors
When you create a blank map using one of the skybox templates, you are given a free DominantDirectionalLight. Most maps (probably 80%) just use this light and don’t really adjust anything. That’s fine, but we can do better.
As mentioned above (and if you’ve followed along), the map is currently lit by a DirectionalLight rather than a DominantDirectionalLight. For some reason, DirectionalLights give dynamic shadows, but DominantDirectionalLights do not. Also for some reason, the majority of players seem to play with no shadows anyway. I think they’re wonderful and that everyone should use them. Regardless of your preference, be kind to those of us who like shadows/have superior taste in graphics.
To place a light, right click anywhere in the scene. Go to Add Actor > Add Light (DominantDirectionalLight). To convert this to a DirectionalLight, right click it and select Convert Light > DirectionalLights > DirectionalLight.
Save the map, load into the game and check out those beautiful shadows!
…
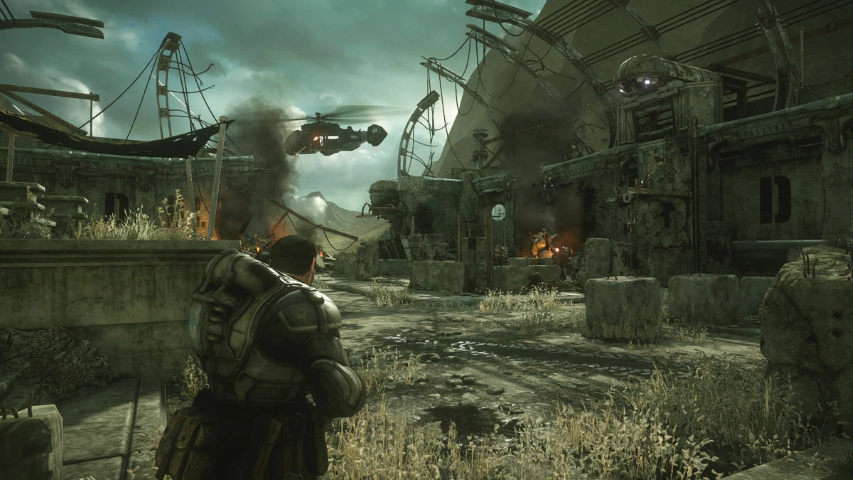
Gotcha again! UDK is very particular about lighting because it is heavily optimized for efficiency. One of the first commercial games made with UDK/Unreal Engine 3 was the original Gears of War. That came out on November 6, 2007 (yes, you’re reading that number correctly). The Xbox 360’s GPU has roughly 1/50th of the computing power of a modern high-end graphics card like the GTX 1080Ti. It’s only due to very clever optimizations that Gears of War still looks pretty good.

Build Lighting
One of the key optimizations used by UDK is a strategy called Light Mapping. This is a non-realtime process (as in you run it before playing the game/level/map). Using a more sophisticated and better-looking lighting model (as in mathematical model), UDK calculates shadows, glows, and other light effects, then generates 2D textures (called Light Maps) which are applied on top of existing materials. They are great for our purposes, but the key feature is the last part of that sentence.
![]() Icon to build lighting in the menu
Icon to build lighting in the menu
Building lighting will force your map to refresh the behavior of all materials. If shadows are not showing up, or certain parts are wildly miscolored, building lighting will attempt to fix all of that. Before uploading a map, it is always a good idea to rebuild the lighting so it looks finished.
Errors
 Task Failed Successfully!
When you build, UDK is inevitably going to complain about some things. In general you can ignore Warnings, but Errors should be resolved before publishing your map.
These are the most common things you’ll see and how to fix them:
| Message/Error | Fix |
|---|---|
| “Maps not built with production lighting | Select “Production” in lighting build options (this makes it take much longer) |
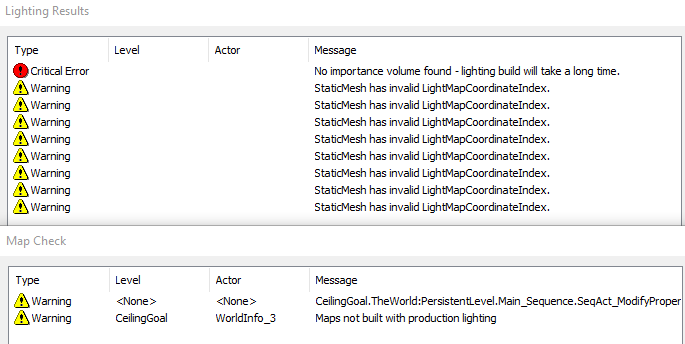
| “No importance volume found” | Add a “Lightmass Importance Volume” around the portion of your map the players will see up close |
| “Object has overlapping UVs” | Ignore since you probably did this intentionally. They can sometimes result in lighting artifacts. |
| “StaticMesh has invalid LightMapCoordinateIndex” | UDK wants a second UV map layer specifically for the LightMap. It’s generally not worthwhile. |
| Object is completely black | Disable “Use Precomputed Shadows” in its properties to exclude it from lightmapping |
| Object has really weird “shadows” | Enable “Override Light Map Res” in properties and set “Overridden Light Map Res” to 128, 256, 512, or 1024 |
| Object flickers | Check that you don’t have duplicate objects in the same location. Check that the mesh doesn’t have duplicate faces in the same location. |
Lightmass Importance Volume
If you start with a blank map, you are guaranteed to see an intimidating warning at some point:

Your map will still work just fine, despite the Critical Error and red exclamation mark. But, as it grows in complexity, this is something you will want to implement.
The Lightmass Importance Volume tells UDK (and Rocket League) which portion of the map is most important to make pretty. In our case, this is the portion where players will be.

A Lightmass Importance Volume may be created by resizing the CSG Brush to the size of the playing field, then adding a LightmassImportanceVolume from the Volumes menu. That will fix this error and give you a much speedier Build Lighting process.
Good Lighting Tips
As mentioned above, start with a DirectionalLight. Place this above your map. If you want more interesting shadows, you may rotate it.
| Search for | Change the line(s) | To this value |
|---|---|---|
| “bri” | Brightness | 0.5 to 3 |
| “mod” | Mod Shadow Color | #999999 (grey) |
There’s a whole slew of other settings that you should play around with, but these two will instantly improve the lighting and look of the map.
Additionally, you might want to add a second DirectionalLight pointing upward. The underside of the ball and the ceiling tend to be very dark (especially if the ceiling uses an opaque material). You can use this trick to add light to walls as well, if needed. Set these lights to much lower brightnesses, like 0.2.
Point lights, Spotlights, and others can be used for interesting effects, but the only way to know if they’re right for your idea is to try them out. Remember that you will need the Toggleable or Dynamic versions if you want to control them with Kismet.