Collidable Meshes important
Settings
To make a collidable mesh, you need to set these Properties:
| Search for | Change the line(s) | To this value |
|---|---|---|
| “rigi” | Disable All Rigid Body | Unchecked |
| “rigi” | Block Rigid Body | Checked |
| “acc” | Accepts Dynamic Decals | Checked |
| “coll” | Collision Type | COLLIDE_BlockAll |
| “rbc” | RBChannel | RBCC_Default |
Unchecking “Disable All Rigid Body” allows for this object to have collisions. “Block Rigid Body” allows for it to collide with other solid objects. “Accepts Dynamic Decals” allows Rocket League to draw the ball indicator circle on this mesh, which is typically what you want. “Collision Type” allows for this object to collide with certain types of actors, but is largely overruled by RBChannel. “RBChannel” allows for objects which block only the ball or only the player (as examples), with the default option to block everything. Some of these are the default settings, but they are good to verify anyway.
Center the mesh to the world origin:
| Search for | Change the line(s) | To this value |
|---|---|---|
| “loca” | X | 0 |
| “loca” | Y | 0 |
| “loca” | Z | 0 |
Alternatively, right click the Move tool on the top toolbar: 
A small window will pop up. Enter 0, 0, and 0, and make sure Relative is unchecked. With Relative unchecked, you move the object to this location. With Relative checked, you move an object by this amount.
This same strategy applies to all of the tools shown in this section. It’s a very powerful and essential ability that’s hidden in a very hard-to-find way.
 Let’s get sticky, together
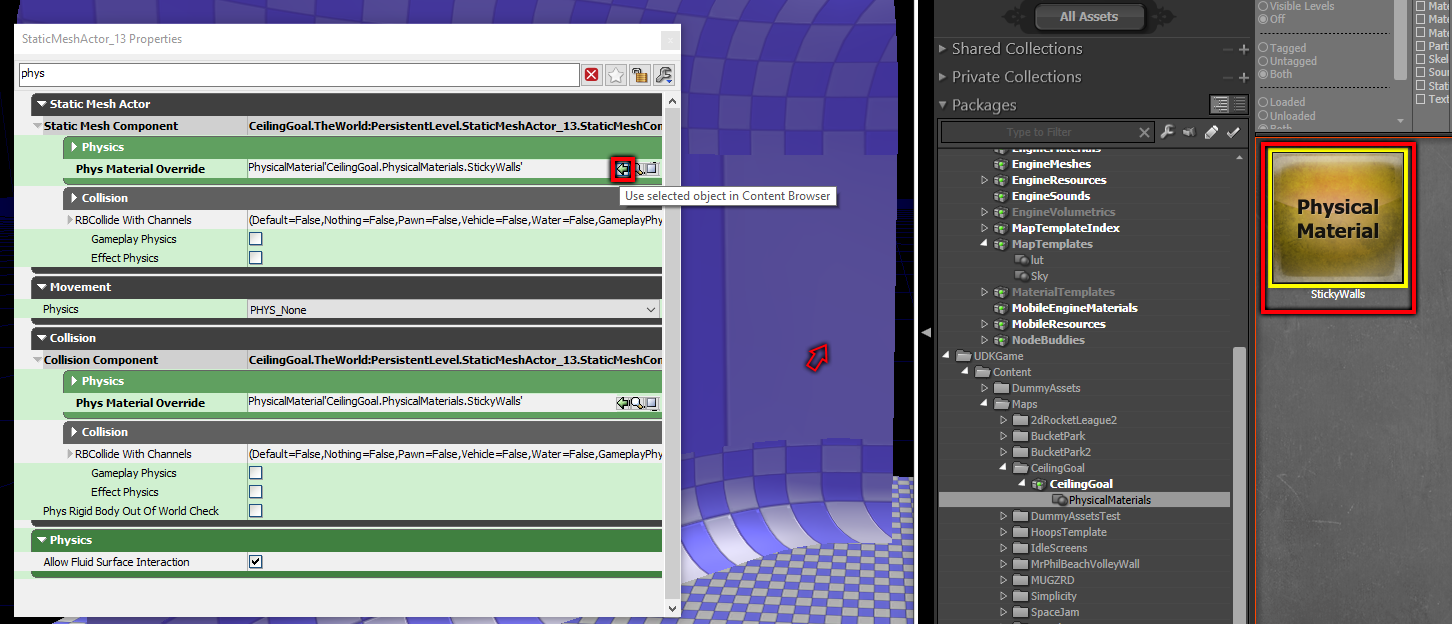
Lastly, we need to apply the StickyWalls™ material to the floor. Select the floor, press F4 to view its Properties window. Search for “phys” and you will see Phys Material Override. Select the StickyWalls™ Physical Material within the Content Browser. Press the “Use selected object” green arrow to apply StickyWalls™ to the StaticMeshActor.
Next, look for Field_STD_Collision_Corner, and place it into the map. Adjust it so it touches the ground (the End key will do this). Change all of the same properties and apply StickyWalls™.
If you used one of the templates, you will have a light already. If not, right click anywhere in the 3D editor > Add Actor > Add Light (Point). Right click the added light > Convert Light > DirectionalLights > DirectionalLight. Position it somewhere above the map.
Inside its properties:
| Search for | Change the line(s) | To this value |
|---|---|---|
| “draw” | Draw Scale | 5 |
This makes it a little easier to see.
Playable Map Essentials
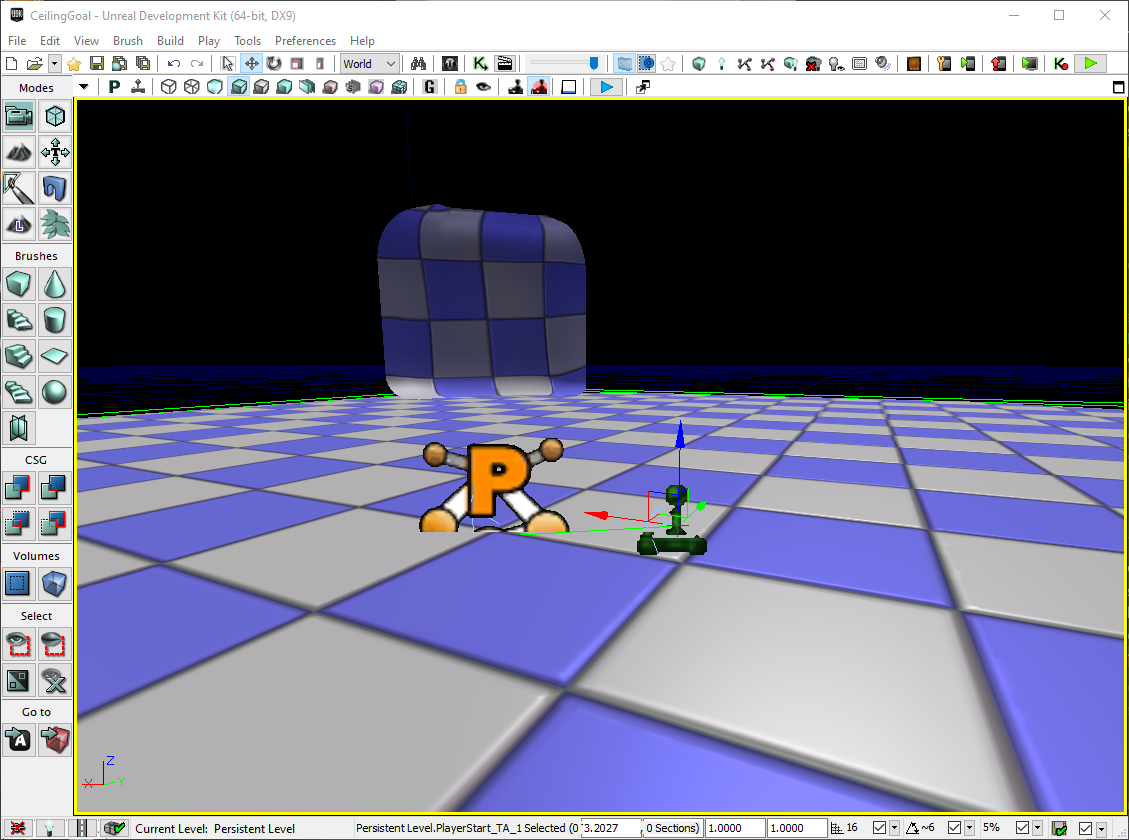
You will also need to add a spawn point and an object that tells Rocket League that this is a playable map. These may be found inside the Actor Classes tab of the Content Browser. First, search for “pylon” and add a Pylon_Soccar_TA to the map by dragging it from here into the 3d view. Next, search for “player” and add a PlayerStart_TA to the map.
Inside the Properties windows for the Pylon_Soccar_TA and PlayerStart_TA:
| Search for | Change the line(s) | To this value |
|---|---|---|
| “loca” | X | 0 (-500 for PlayerStart_TA) |
| “loca” | Y | 0 |
| “loca” | Z | 60 |
| “draw” | Draw Scale | 5 (it will clamp to 3.202685) |
Because these are based on Paths, you will need to Build Paths before this is playable. Better yet, do Build > Build All.
 The next big hit
There will be a few warnings when the build completes, but we can clear those up later.
File > Save Current Level. Let’s play.
WARNING
You might be tempted to click File > Save All. This can cause Dummy Asset packages to become corrupted, which is something that can confuse even the most experienced mapmakers. The earlier you can develop the muscle memory of using File > Save Current Level, the better.