Customized UDK
If you installed UDK with (a future version of) the quick setup script, you may have already opted for some of these changes. Future tools will also streamline this process. Feel free to adjust them to your own preferences, since changing these settings will not require a full recompile.
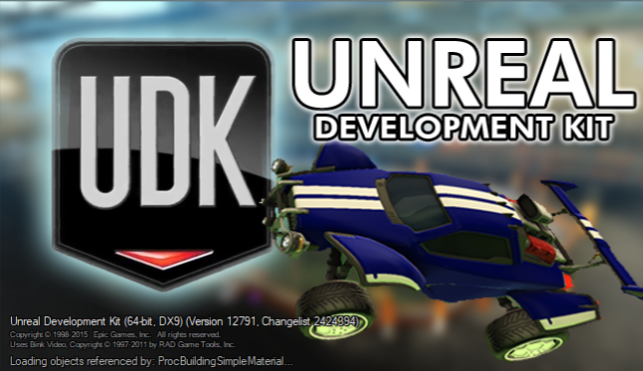
Splash Screen
To replace the UDK splash screen with your own image, save the image as a .bmp file (preferably with a size of 650*375), rename the image to EdSplash and replace the standard splash screen in {UDK Folder}/UDKGame/Splash/PC/
 Nominee for best splash screen?
Welcome Screen
If you have disabled the Welcome screen, you can access it in the Help menu. Customizing it might just convince you to keep it around:
- In
{UDK Folder}\Engine\EditorResources\WPF\Localized\UnrealEd.INT.xamlyou can change the text and the description of the welcome messages (lines 250-271) - In
{UDK Folder}\Engine\EditorResources\WPF\Controls\WelcomeScreen.xamlyou can replace the images and the background of the welcome screen with your own images. Replace the current source (in line 13-20) with the path of the image, they can be located in anywhere on your computer - In
{UDK Folder}\Engine\Localization\INT\UnrealEd.intyou can change the text above the title by replacingWelcomeScreen_Title(line 71)
Map Templates
You can replace the UDK templates with (your own) custom maps templates. Try to keep these up to date with any framework changes as we continue to learn more about modding Rocket League. To save your own map as a template:
- Open the map you want to have as a template and press
File>Save as.... You can rename it if you want another name, in these steps it will be referenced asMapTemplateName. Change to extension to.umap!. Save it in{UDK Folder}/Engine/Content/Maps/Templates(here you will see all the other templates) - Go back to the Content Browser and search for the MapTemplateIndex package. You should see all existing templates
- Right click on the package and select
New TemplateMapMetadata - Change the name to the same name as the map you saved in step 1 (without the extension), so the name would be
MapTemplateName. - Right click the MapTemplateIndex package and press
Save - Take a screenshot of the map and crop it to 256x256, 512x512 or 1024x1024 (any power of 2 will work)
- Save the image as a .tga 24 bit texture
- In the Content Browser, click
Importand use the default properties to import the .tga texture - Double click on the TemplateMapMetadata package for your template map, select your image from the content browser and add the image as a thumbnail
- Save the package again and exit UDK
- Open
{UDK Folder}/Engine/Localization/INT/EditorMapTemplates.intand add the following line (replacingMapTemplateNamewith your own template name):
MapTemplateName=This is what you see in UDK- Save the file, close it and open UDK. You should see your own template!
UDK Tips
In {UDK Folder}\Engine\Localization\INT\EditorTips.int you can set your own UDK or mapmaking tips by replacing the text after Tip_xxxxx=. Place \n for a single line break. You can create up to 10000 start-up tips.
Tip_00001=Did you know you can replace the current tips with your own?\n\nLearn how at https://rocketleaguemapmaking.com/guide/misc/08_custom_udk.html!Documentation
The Content Browser has a tab for documentation, which you can fill with your own useful links by editing the file {UDK Folder}\Engine\EditorResources\UDKOffline.html
UDK Custom Hotkeys
Editor
In {UDK Folder}\Engine\Config\BaseInput.ini you can edit the standard hotkeys for the 3d viewport or add your own hotkeys. The list of commands are listed under [UnrealEd.EditorViewportInput]. Surprisingly there is a page in the documentation for all console commands.
Kismet
In {UDK Folder}\UDKGame\Config\UDKEditor.ini you can edit the standard hotkeys or add your own hotkeys. Make sure your hotkey doesn't clash with an existing kismet view hotkey!
Node color
You can change the color of the kismet node by specifying the ObjColor property:
ObjColor=(R=0,G=63,B=127,A=255)Matinee
In the Matinee window you may also set your own hotkeys by going to Edit > Configure Keyboard Shortcuts. You can also just configure them in the same file as the kismet hotkeys (on lines 190-227).
Menu
Text
You can change the text of almost any message or button (including the Save all button) in{UDK Folder}\Engine\Localization\INT\UnrealEd.int
Actor context menu
You can add (or remove) your own favorite classes in the right click > add actors menu. For class MyClass, add the class ActorFactoryMyClass in a source folder:
// /Development/src/MyMod/Classes/ActorFactoryMyClass.uc

class ActorFactoryMyClass extends ActorFactory
    config(Editor)
    collapsecategories
    hidecategories(Object)
    native;

defaultproperties
{
    MenuName="Add MyClass"
    NewActorClass=class'MyClass'
    bShowInEditorQuickMenu=false
}
By setting bShowInEditorQuickMenu=true you can move MyClass from add actors > templates > MyClass to the most-used actors in add actors > MyClass.
Content browser context menu
Similar to the actor classes menu, you can extend the Factory class for a custom item in the content browser.
// /Development/src/MyMod/Classes/ActorFactoryMyClassNew.uc

class ActorFactoryMyClassNew extends Factory
    native;

defaultproperties
{
    SupportedClass=class'MyClass'
    Description="My Class"
    bCreateNew=True
}- you can't remove items from the context menu, but if the list is outside the viewport select a random item and change the factory to the class you want in the menu.
- as with other factories, you can't set properties in the new factory window
More
If you are willing to dive into the config files and source code of UDK to discover more tricks, please share anything interesting that you find!